How Tattoo Artists Can Build a Merch Line Alongside Bookings
Your appointment calendar is full, but people still ask how they can support your work. Some follow your art from another city. Others love a design but are not ready to get tattooed. A small merch line gives them a way to own something you made without booking a session.
You do not need a full clothing brand to begin. One strong design, a garment you would wear yourself and a manageable way to sell it are enough for a first release. The goal is to build something that fits around your tattoo practice, rather than creating a second job that takes time away from it.
Start with a design people already connect with
Look at the work your audience responds to. It might be a flash design people keep asking about, a character that appears throughout your portfolio or lettering that feels unmistakably yours.
Choose artwork you own and have the right to sell. A custom piece made for a client deserves a separate conversation and clear permission before it appears on merchandise.
For your first release, pick a design that makes sense beyond your existing clients. Someone should be able to enjoy wearing it without knowing the story behind a particular tattoo.
Choose one main product
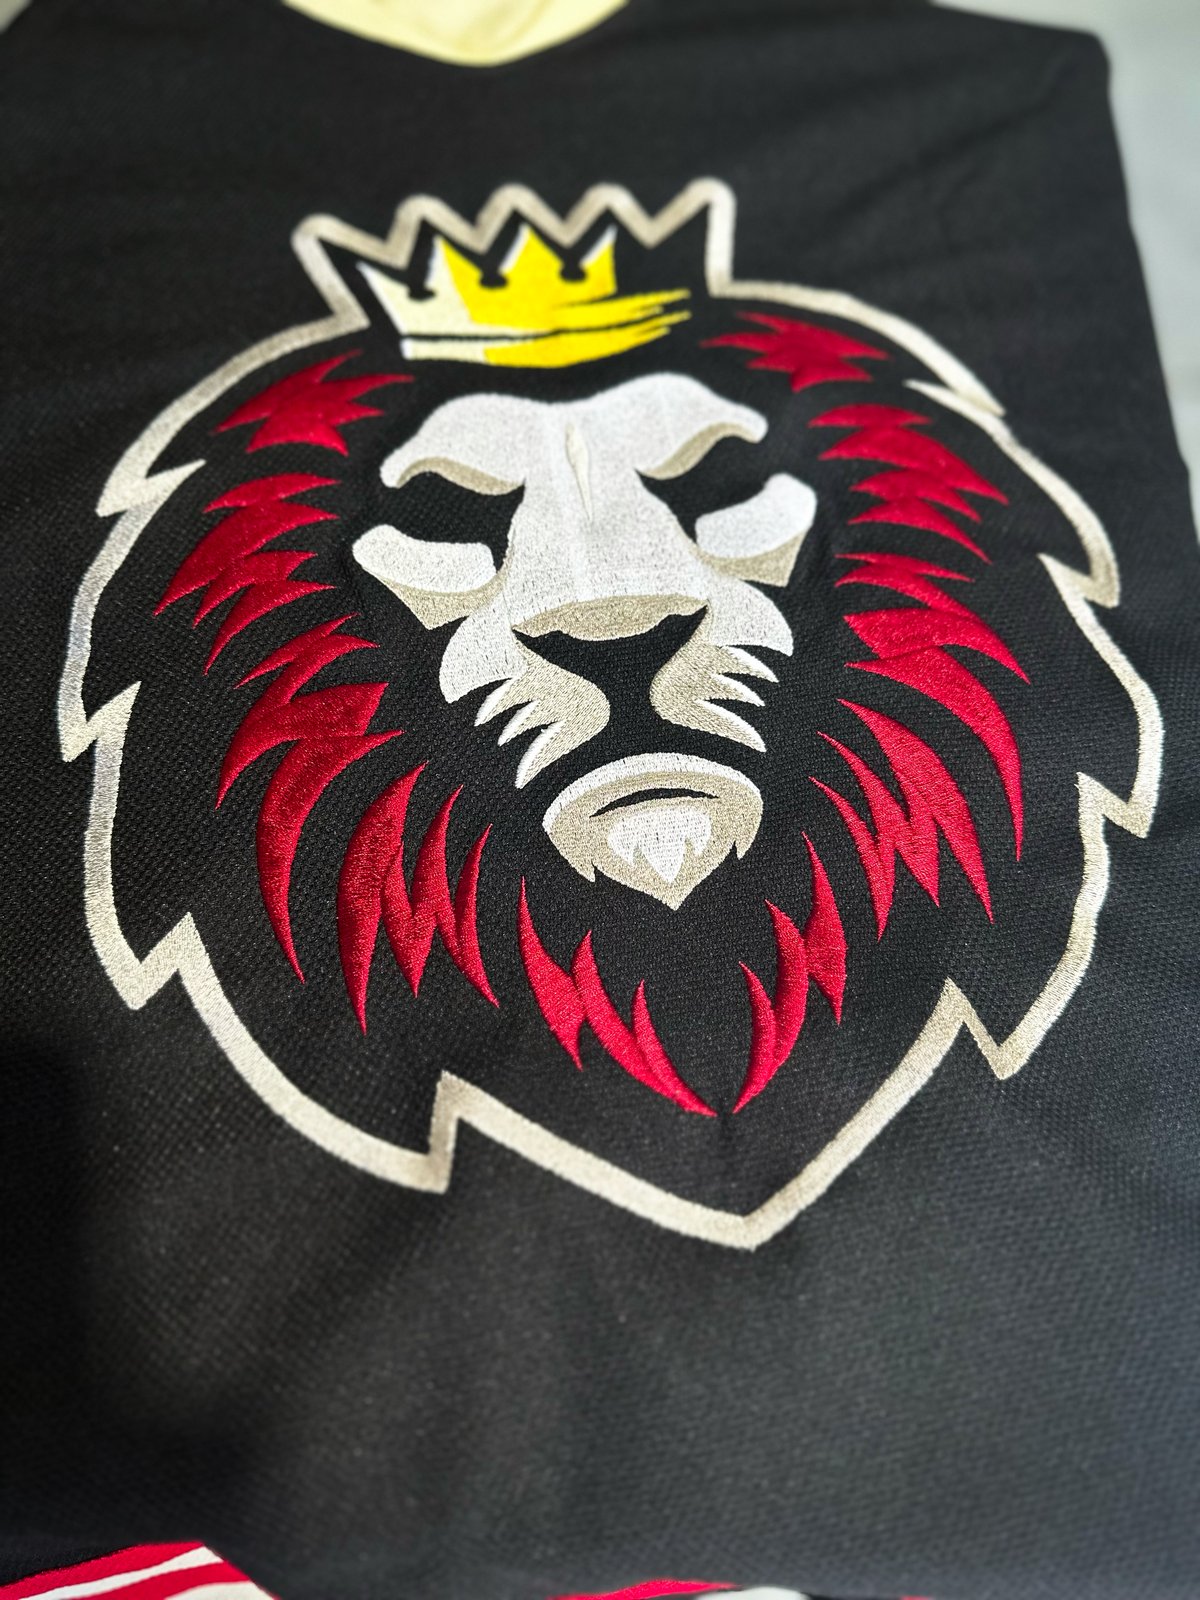
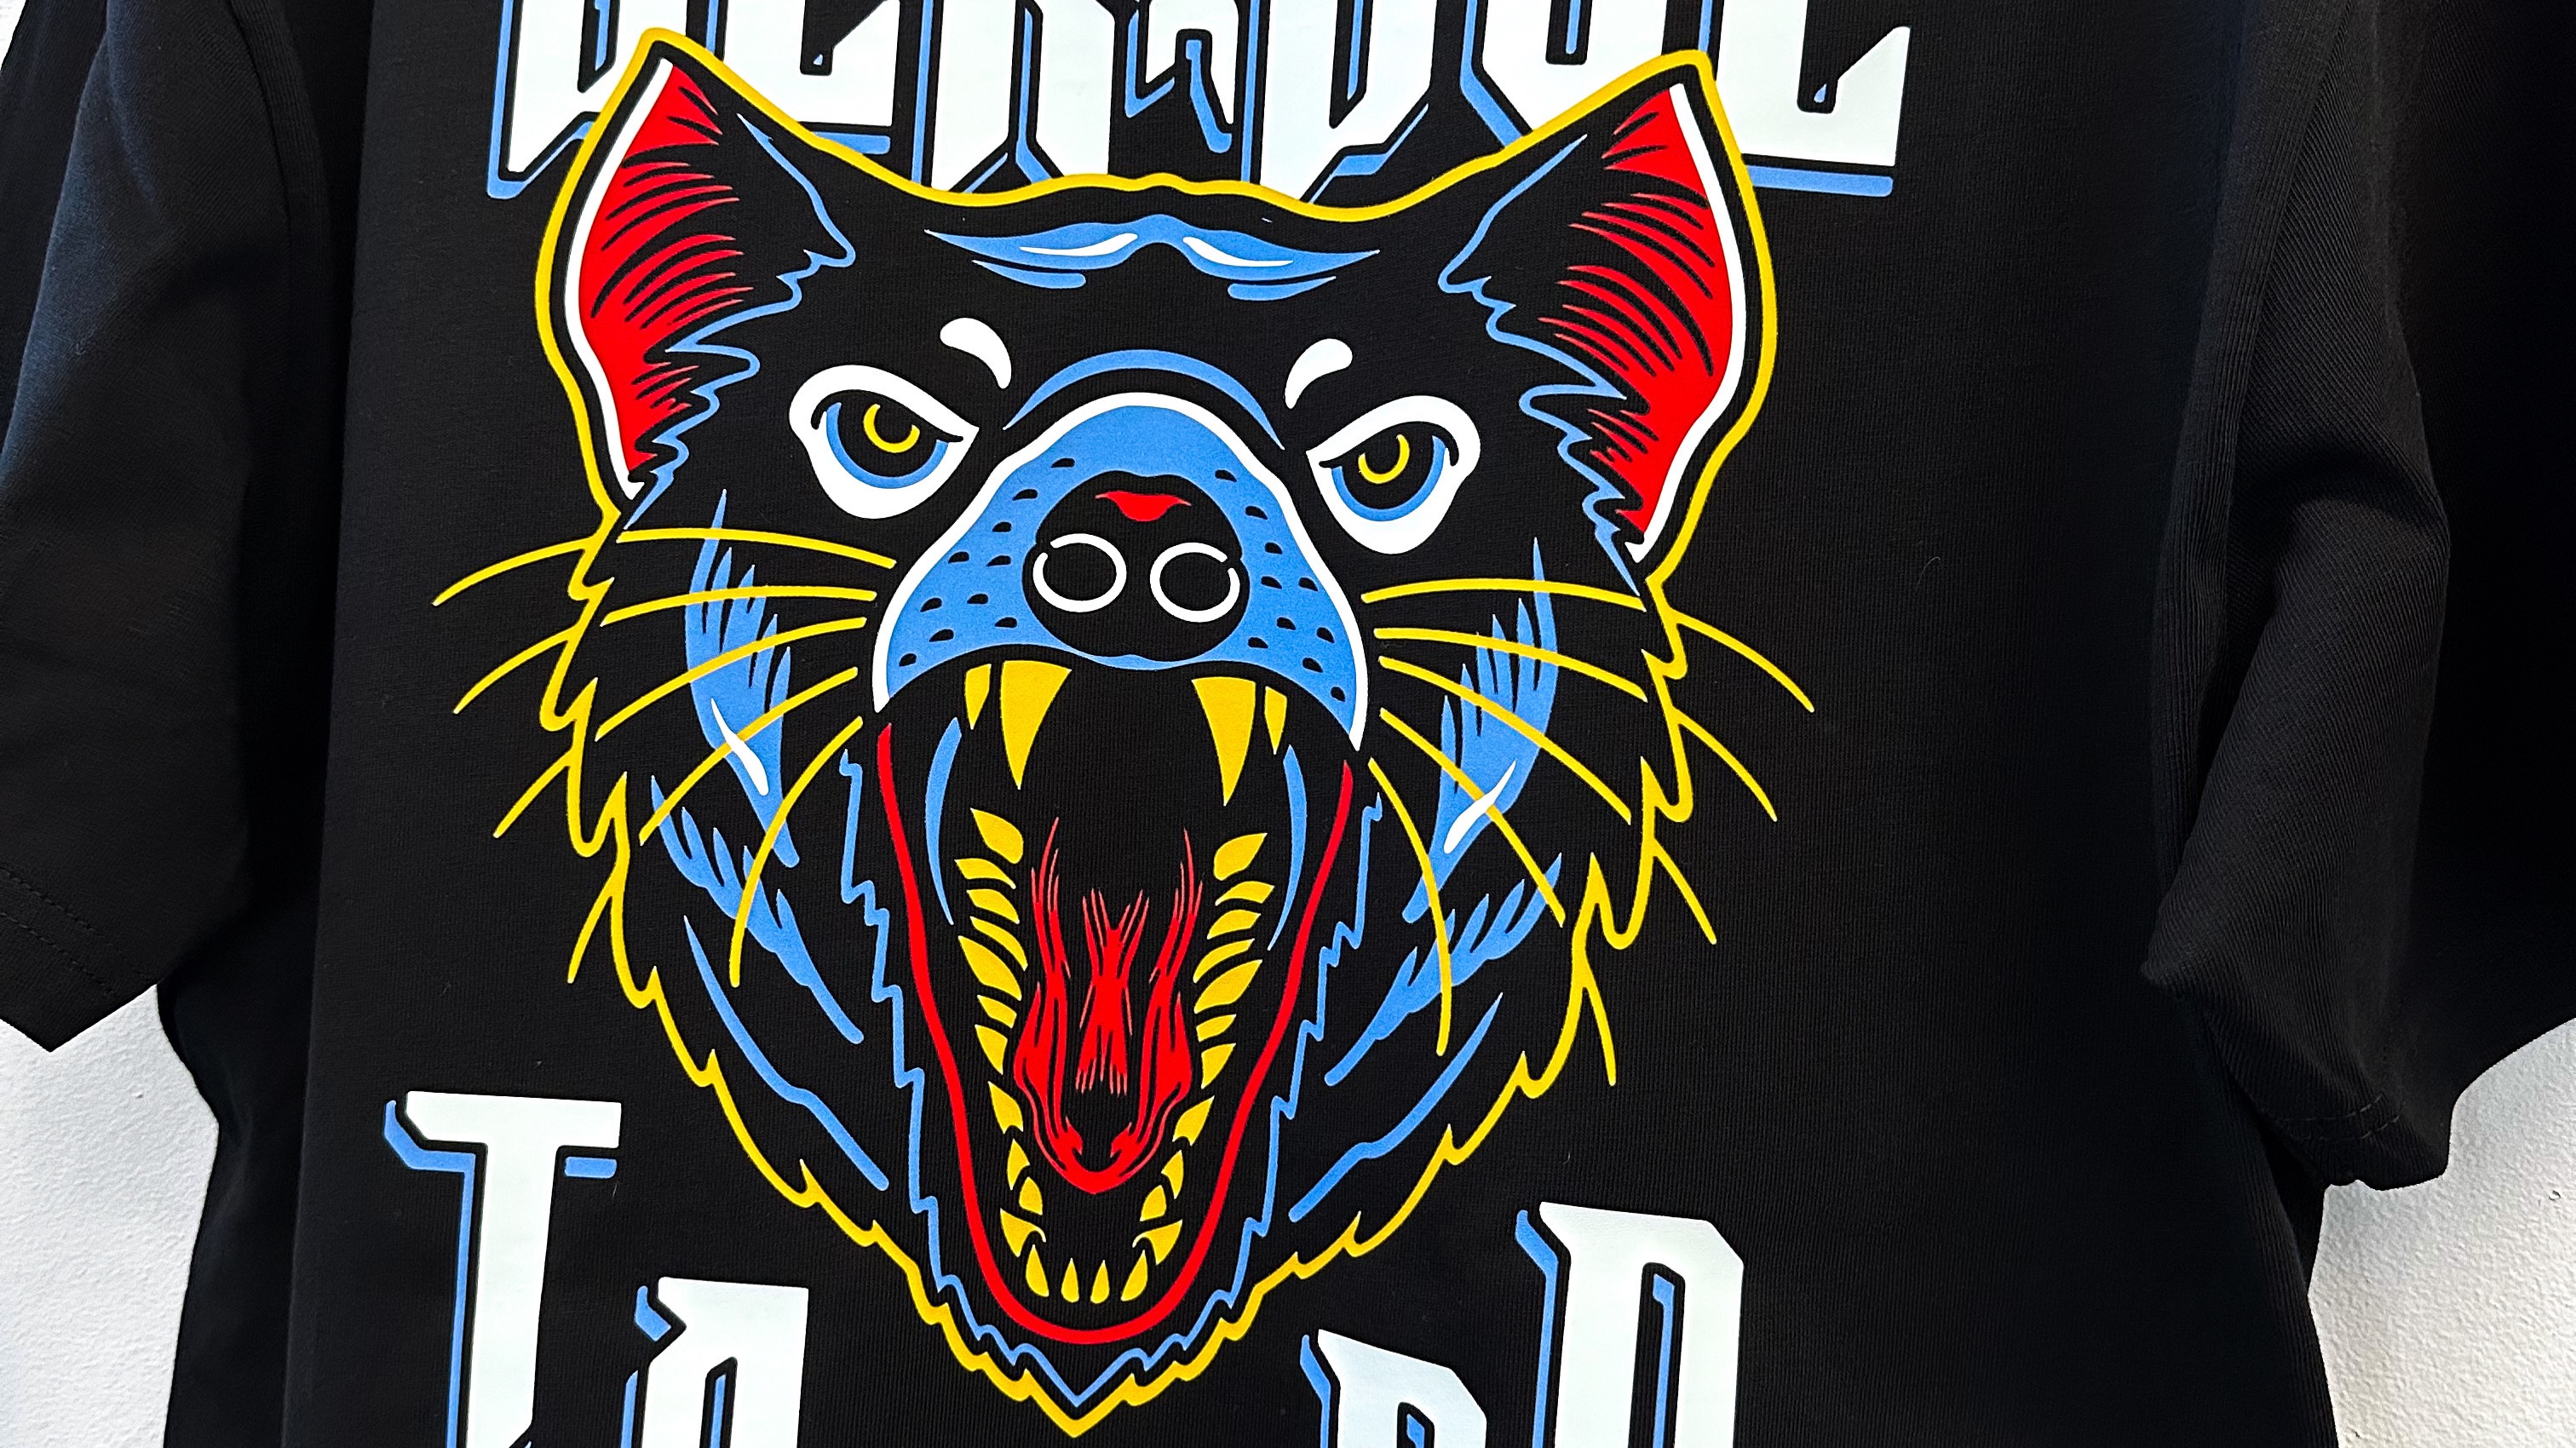
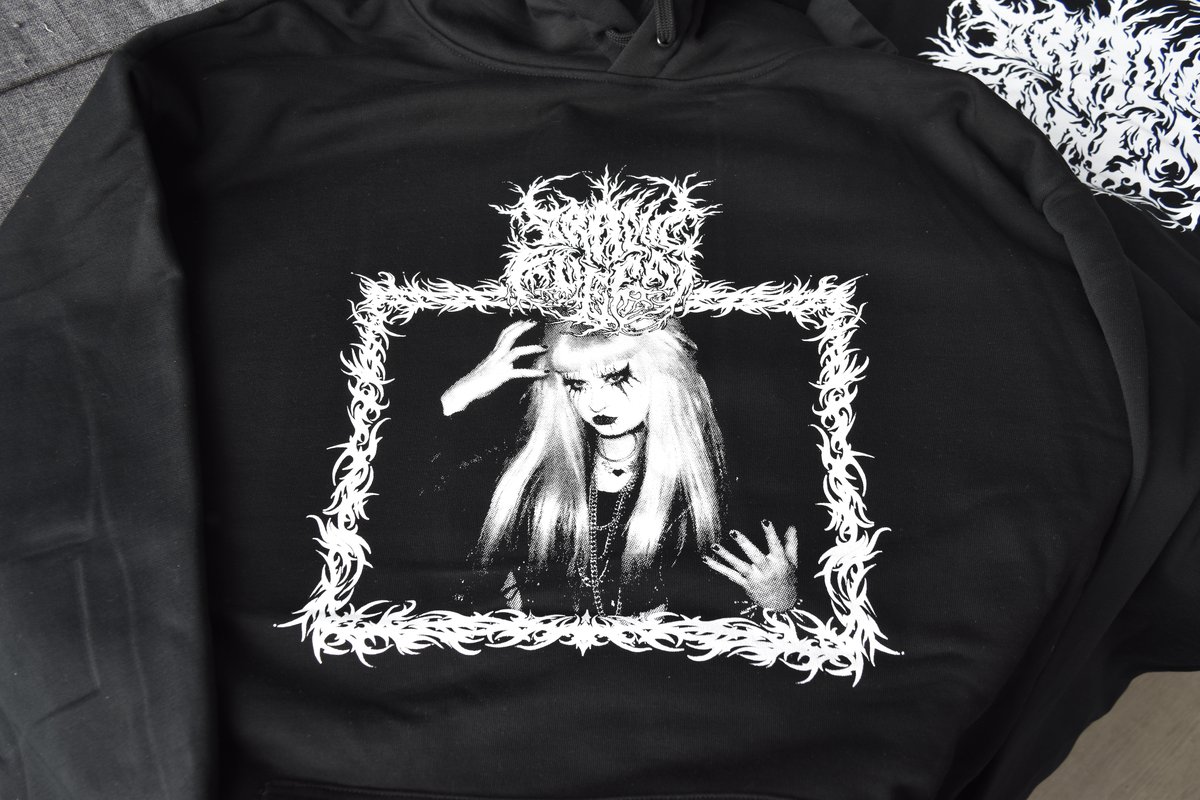
A T-shirt is a practical first product: it gives your artwork space and is easy to show in photos or at the studio. A hoodie can suit an established audience that already asks for merch. Stickers offer a smaller purchase for people who want to collect your art.
Start with the item your followers have shown interest in, then select a garment that suits the design. Consider fit, fabric weight and colour as well as print quality. If the tee itself does not feel good to wear, the artwork alone may not bring someone back for another release.
You can add products later. For now, a focused range makes decisions about artwork, sizes, quantities and promotion much easier.
Test interest before committing to quantities
You can gauge demand without promising a release date immediately. Share a mockup, show two possible garment colours or ask followers which of your original designs they would wear. In the studio, pay attention to the designs clients mention without being prompted.
Responses are useful signals, but they are not orders. If you are considering pre-orders, give buyers a clear price, size guide and estimated dispatch window before taking payment. Leave room in the schedule for proof approval, production and delivery.
If you prefer to have stock ready to sell, begin with a quantity you are comfortable storing and managing. Record which sizes sell first so your next order is based on actual purchases.
Price the whole release
Before setting a retail price, work out more than the cost of a blank tee and its print. Include artwork preparation, packaging, payment fees, postage where applicable and the time you will spend packing orders. Check the price still makes sense if a few sizes take longer to sell.
Your original art is part of the product's value. A thoughtfully made tee does not need to compete with the cheapest promotional shirt you can find.
Pick a print method that fits the artwork
The design and order size will help determine how to produce it.
Screen printing can suit a larger run of one design with a small number of defined colours. DTF printing offers flexibility for detailed, multicolour artwork or a smaller first batch. If your work uses very fine lines or subtle shading, ask how those details will appear at the final print size.
Melbourne Merch can review the artwork alongside your chosen garment and quantity. Ask for a digital proof, then check the scale and placement before approving production.
Build the launch around your existing work
You do not have to become a full-time content creator to sell merch. The work you already do can tell the story of the release.
Show a sketch becoming the final design. Share why you chose it, then photograph the finished garment on a person. If you sell from a studio, make it easy for visitors to see available sizes and know how to buy. Online, put the purchase link where followers can find it without sending a message.
A simple launch sequence might be:
- Preview the artwork and announce the product.
- Share the garment and size details once the proof is approved.
- Open sales with a clear price and delivery information.
- Show the finished product being worn and share a stock update if useful.
Keep appointment enquiries and merch orders organised separately so neither gets lost in your messages.
Use the first release to learn
After the launch, look at what actually sold. Which sizes went first? Did buyers respond to the artist's name, the illustration or the garment style? Did people ask for another colour or a smaller item such as a sticker?
Those answers can shape a second release. You might bring back a design on a different garment, create a new piece in the same series or collaborate with another artist in your studio on studio-wide merch.
A merch line can grow at a pace that suits your bookings. Start with work you are proud to put your name on, make it easy to buy and let real demand guide the next drop.
Ready to turn your artwork into a first release? Talk to Melbourne Merch about your design, garment options and quantities.